A.D.I.E.M. ©
Bob DiNatale
Activity: Blends...
Keystrokes are for
Macintosh ... for lesson with Windows Keystrokes Click here
Activity B1/101: Using "Blend" modes to selectively lighten dark areas
File Needed:
[BlendNight_WEB.jpg]
(you can save the "Before" image below)
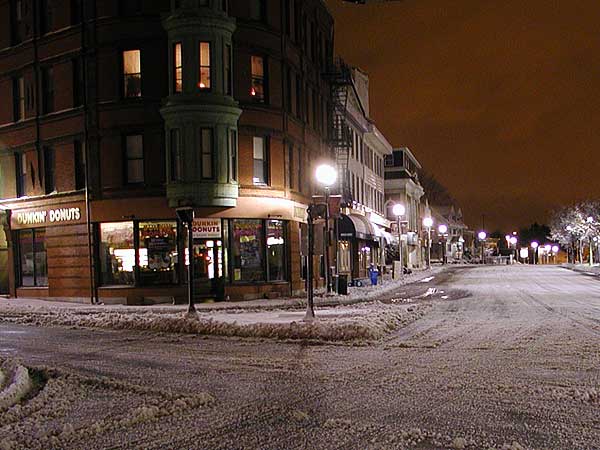
Before

After
Part 1: Lighten Dark areas
1.
Open file [BlendNight.jpg]
2. Double click the "Magic Wand" tool and set the tolerance to 24 and uncheck "Contiguous"
3. Click on a the dark area of the image that you want to lighten [e.g. the front of the building]
4. Duplicate the "Background" by dragging it to the "New Layer" icon on the layer palette
5. Double click the Layer name and rename it "Lighten Shadows"
6. Create a layer mask of the selection by clicking on the "Add Layer Mask" icon

7.
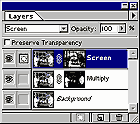
At the top of the layer palette change the Blend mode from "Normal" to "Screen"
8. Make sure the mask portion of the layer is active by clicking on it
- [mask icon displayed]
9. Blur the layer mask to soften the "
Screen" blending effect
  - from the menu: >Filter>Blur>Guassian Blur: 10
  - If more softening of mask in necessary, repeat "blur" filter by pressing [Command+F]
- To "Increase" the effect: replicate layer (fine tune by changing "Opacity" value)
Revision 1.0

A.D.I.E.M. ©
Bob DiNatale
Activity: Blends...
Activity B2/101: Using "Blend" modes to adjust tonal range.
File Needed:
[PSPfamily.jpg]
(you can save the "Before" image below)

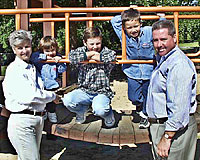
Before

After
Part 1: Lighten Dark areas
1.
Open file PSPfamily.tif
2. Double click the "Magic Wand" tool and set the tolerance to 24 and uncheck "Contiguous"
3. Click on a shadow area on the photo
4. Duplicate the "Background" by dragging it to the "New Layer" icon on the layer palette
5. Double click the Layer name and rename it "Lighten Shadows"
6. Create a layer mask of the selection by clicking on the "Add Layer Mask" icon

7.
At the top of the layer palette change the Blend mode from "Normal" to "Screen"
8. Make sure the mask portion of the layer is active by clicking on it
- [mask icon displayed]
9. Blur the layer mask to soften the "
Screen" blending effect
  - from the menu: >Filter>Blur>Guassian Blur: 5
{ see "Modify Blend Effect" below }

Part 2: Darken Highlights
1. Make the "Background" active
2. Double click the "Magic Wand" tool and set the tolerance to 24
3. Click on a highlight area on the photo
4. Duplicate the "Background" by dragging it to the "New Layer" icon on the layer palette

5. Double click the Layer name and rename it "Darken Highlights"
6. Create a layer mask of the selection by clicking on the "Add Layer Mask" icon

7.
At the top of the layer palette change the Blend mode from "Normal" to "Multiply"
8. Make sure the mask portion of the layer is active by clicking on it
- [mask icon displayed]
9. Blur the layer mask by press [Command+F] ( repeats the previous "Gaussian Blur" filter set to 5)

Modify Blend Effect:
  - If more softening of mask in necessary, repeat "blur" filter by pressing [Command+F]
- To "Lessen" highlight or shadows effect:
change "Opacity" value of layer
- To "Increase" highlight or shadows effect: replicate layer (fine tune by changing "Opacity" value)

Making an Action:
This activities can be automated using Photoshop's Actions.
 

1. If the "Actions" palette is not displayed then show it using menu: >Windows>Show Actions
2. Repeat "Part 1" steps 1, 2 & 3 of this lesson.
3. Click the arrow
at the top right of the Action palette and select "New Action"
4. Name it "Lighten Shadows" and start recording
Step 4 to Step 10.
5. After Step 10 stop recording.
... {Repeat this process for Part 2 to create an Action to "Darken Highlights"}


Return to Activities Menu